As promised here are some photos of my last Normandy Tour which took place in May 2007. I will go again next year. I have visited many places and I focus on the sites not everyone knows.
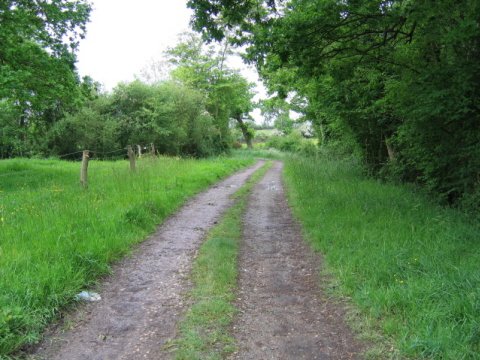
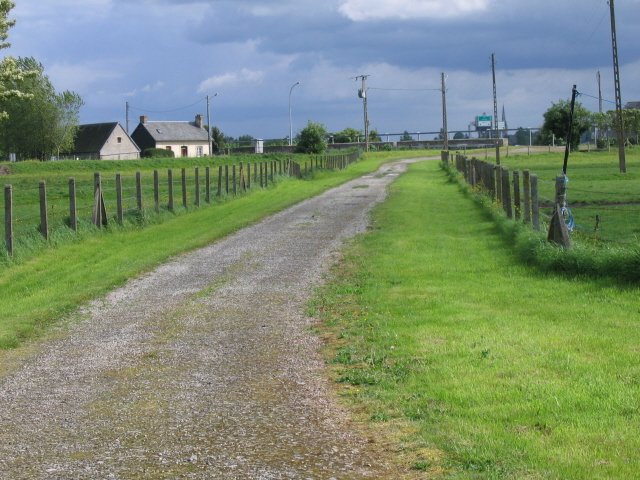
So one of the best sites I visited was the Bloody Gulch where Easy Comp 506 PIR fought against elements of the 17. SS Pz Gren Div Goetz von Berlichingen. It was very difficult to find the place and I thank the person who helped me to find it. It was also very moving to stand on the site of a bloody and violent skirmish. The photo shows the path to the site
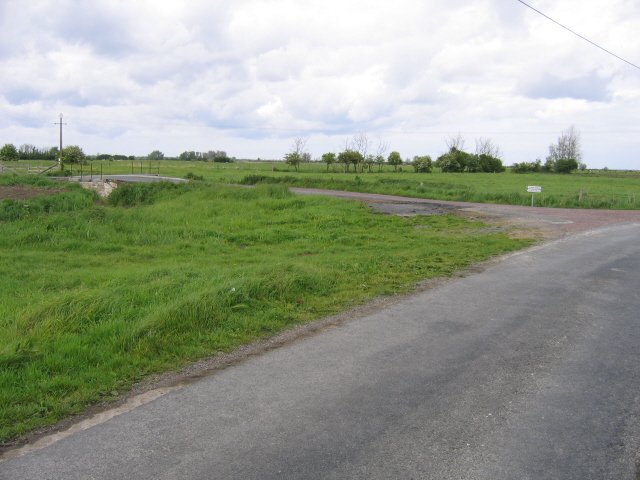
The next pic shows the ridge which was to our right. The top of this ridge was Easy Co. 506th's front line. The Germans were attacking from west to east across that valley and had to go around it to get past the 2/506th line.

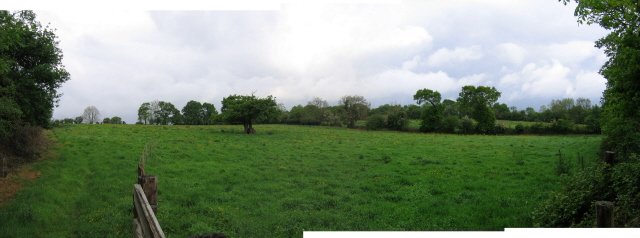
The next pic is the panorama of the line where the Germans attacked with the Stug's and the Grenadiers
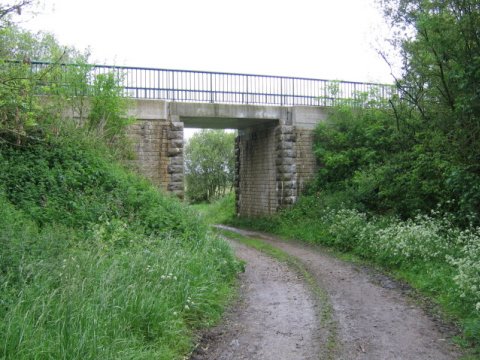
If you continue another 300 meters along the same road which takes you to the Gulch, it will go under the former railroad underpass. The tracks have been removed, but this used to be the Railway line between Carentan and Baupte. Members of the 6th Para Rgt advanced from west to east along the north side of the tracks and some of them went all the way to the railroad station in Carentan on 13 June 44. C/506th was subjected to a terrific artillery barrage at the north side of the railroad overpass after the Germans retreated.
Hells Corner - La Barquette Lock
Beside the Brecourt skirmish which has taken on a life of its own since the TV BoB series was shown and disproportionately outweighs other more important actions done by other units, we decided to visit one of them:
Hell's Corner at the Barquette Lock.
The pic shows the panorama view of Col. H.R. "Skeets" Johnsons (501st PIR) position. Johnson collected only 150 men of his original 800 as the others were either lost, linked up with other units or casualties.

Johnson’s force secured the north side of the lock, as the lock controls the canal, without opposition. 4 rifle platoons crossed the lock and after a brief skirmish established a defense perimeter on the south side.
Throughout the morning and afternoon of June 7 1944, 88mm artillery fire from Carentan, mortar fire from Ste. Come du Mont, and snipers along the northern perimeter caused increasing casulaties making movement difficult
At 2 p.m German paratroopes of the 1st Battailon, 6th German Para Rgt. were observed approaching from northeast. In anticipation of the German attack, Johnson established a six-machine gun strongpoint at the T-junction in the north ditch (can be seen on the panorama view) immediately. East of the road junction deploying riflemen in the field between the road and the river (this became "Hells Corner"). At 4 p.m.the American opened fire on the Germans from 350 meters. They fell back seeking cover in the uneven water-soaked terrin.
Although out-manned, the American paras bluffed the Germans into surrendering, so 350 German paras crossed no-mans land into US captivity. The German casualties in the earlier skirmish had been 150 KIA or seriously wounded. The US losses were 10 KIA and 33 wounded. In error, German artillery killed many of their comrades as the POW's were being marched into captivity (a 88 mm shell landed amongst them, killing 20 and wounding 12).
The pic shows the small path to the Lock. Unfortunately it was closed for detailed examination.
Dead Mans Corner
After Hells corner we went to St. Come du Mont or better to the Dead Mans corner museum. As pics of the inside has been shown already in this forum , I keep it straight and show you only the sites of the fighting.
The first pics shows the house which is the home of the DMC museum. It was used as a HQ and a aid station of the 6th german Para Rgt, before captured by the US paras.
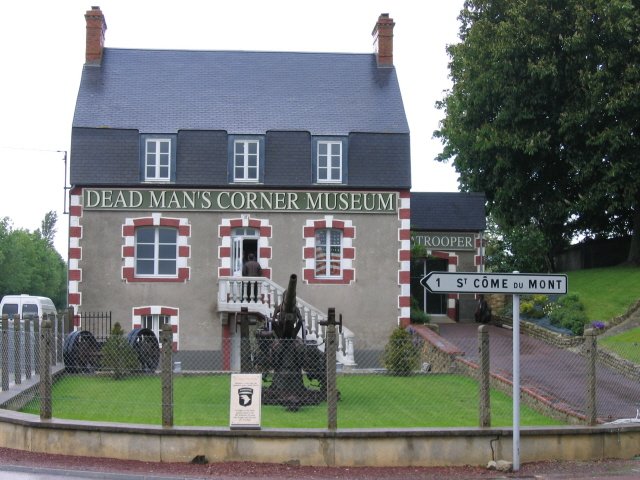
The intersection originally got it's name from the fact that on 7 June, 1944, a American light tank (M-5) of Company 'D', 70th Tank Battalion, was knocked-out nearly in front of the large house and sat there for days afterward. The burned body of the tank commander could still be seen in the turret, and soldiers started to use it as a reference point, saying, "go to the corner where the dead man is in the tank".
This was soon shortened to 'Dead Man's Corner'.
On the website "trigger time" who deals exclusivly withe the history of the 101st AB, it is said, that the tankkiller was a Panzerfaust, not an 88mm, as it was belived at.
The pic is the view down the Purple Heart Lane to Carentan
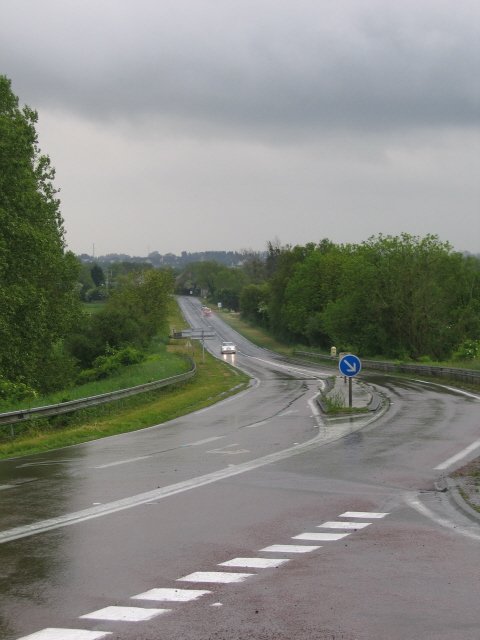
The next shot is the one of Bridge 1 going down the Purple Heart Lane to Carentan. For the advance of the 3rd Battailon 502 PIR it had to be taken
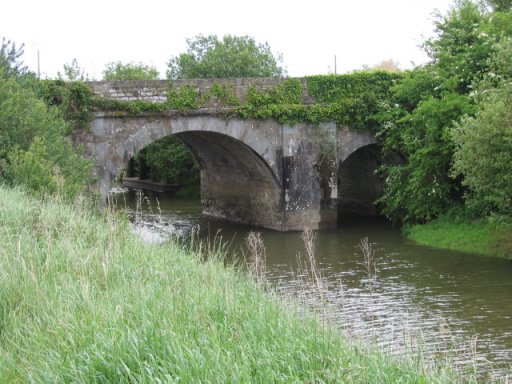
The attack was set shortly after midnight on June 10. Unfortunately fire from a 88mm gun in Carentan prevented the 326th Airborne Engineer Battailon from building a span over the bridge. Bridge 2 was blown out by the retreating Germans. Before crossing it had to be repaired. fed up and unwilling to wait any longer, Cole grabbed a rope and, with help of his G company commander an 2 other men, built a rickety footbridge. So finally Cole's battailon began crossing the Douve river followed by I Company, than G and H with the battailons HQ group. The Americans were under intermittend German fire, mostly from 88s or mortars but it was not until they approched the 4th bridge that the fire grew most intense.
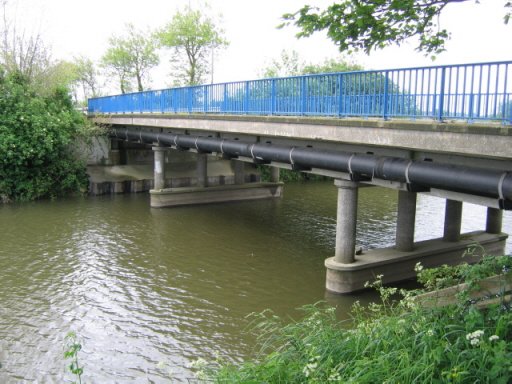
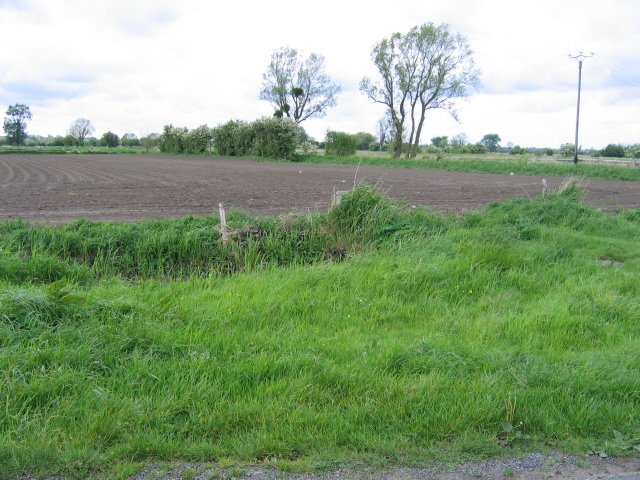
This picture is just in front of the 4th bridge which today is under a roundabout. The view is going west across the filed were the german paras held a defende line with Mg42 and a 37mm gun just opposite the Ingouf farm.Cole set up 2 machine gun positions to cover up his attack just in front where the photo has been taken. G company lost in one day 62 of its 85 men.
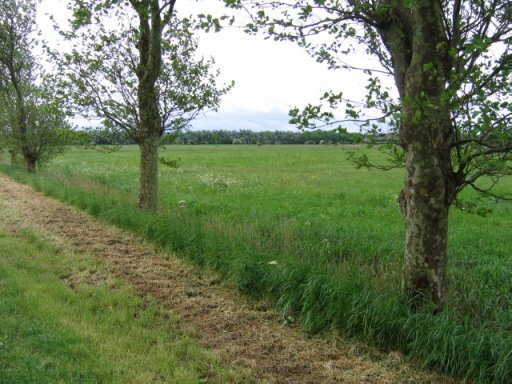
The Ingouf farm was held by german paras of the 6th FJR and was heavely attacked. The orchard, Cabbage Patch, open fields and ditches around the Ingouf farm was littered with the bodies of wounded or dead soldiers. from the 700 yound men at Cole's command, just 132 were still standing. Also most of von der Heydtes' 6th FJR was shattered trying to prevent the 502nd from crossing the four bridges.
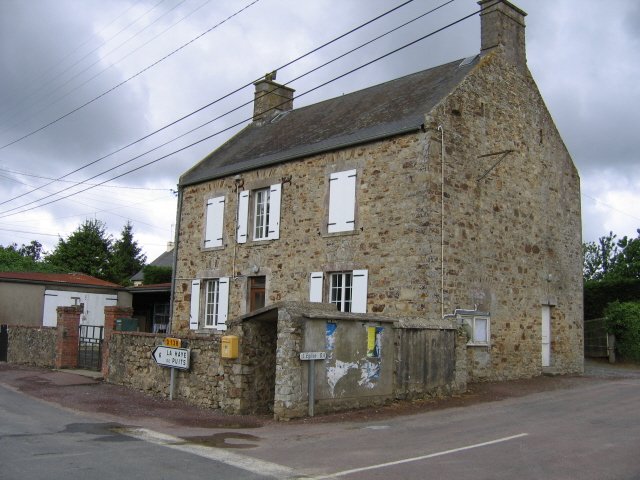
Mont Castre - Gerville la Foret
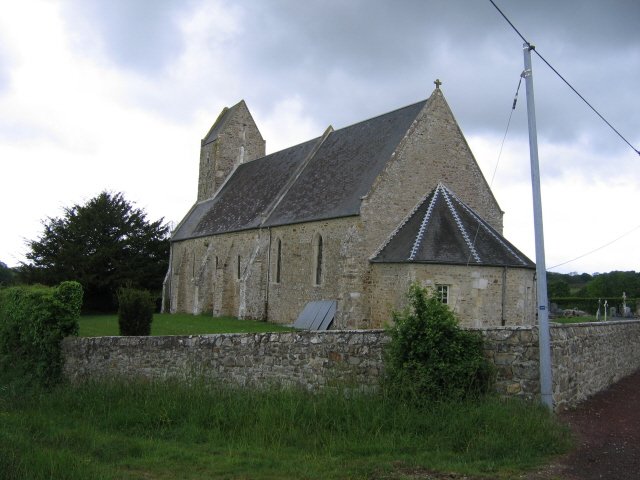
This old school house was used as the aid station of the the FJR 15 and was run by Dr Dollereder. The withe door on the far right of the house was the exit for bringing out the dead to the near church where they was buried.
The church which was just 500 meters from the school house. The KIA's found their rest on the cemetery first before taken to La Cambe.
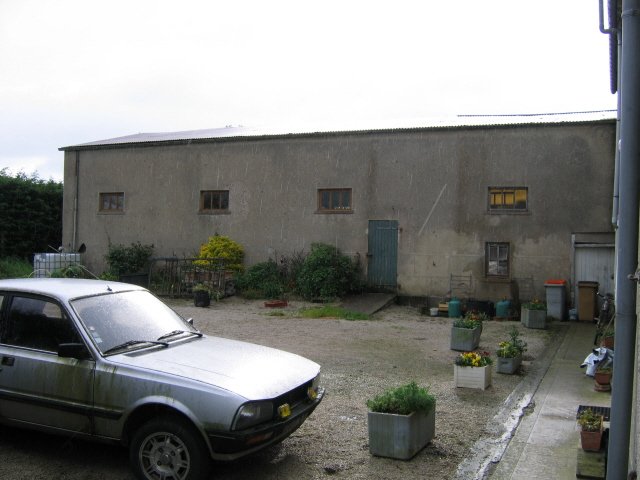
This was the site of the Battailon command poste of the I. Bat / FJR 15 just about 2 Km from Gerville la Foret.